my dictation workflow
My simple workflow to dictate a novel.

I've spent the last few weeks hammering out the kinks in my dictation workflow. It took me ages of twiddling with settings, backtracking, and testing—over and over again—before I finally landed on this workflow.
This is mostly a technical overview, although I've included parts about planning the content because really knowing what you're dictating will dramatically increase your overall speed.
Assuming you have an old iPhone lying around, the setup cost can be as low as $100, though you may want to get a $20/month subscription to Claude.ai or something more niche like Pro Writing Aid for editing.
Hopefully this workflow will help early writers feeling overwhelmed about getting their first draft completed, which I think is the biggest bottleneck in writing.
Content
- Character outlines
- Location outlines
- Story outline, in beat format
Equipment
- Wireless mic
- Old iPhone
Software
- iCloud
- Just Press Record App
- Notes App
- MacWhisper App
character outlines
You have to know your characters fairly well. How would they react in a stressful situation? Are they profane or meek? Charming or Devious? Get clear.
location outlines
This isn't as important as character outlines, but you should still have a good sense of where the action takes place, especially if the location will affect the story in any specific way.
story outlines
Write the outline in "beats", which are all the important parts of the scene that need to happen. Sometimes a beat includes dialog, sometimes it's a character's internal monologue... whatever. The point is to give you a general sense of what happens, from one moment to the next to the next.
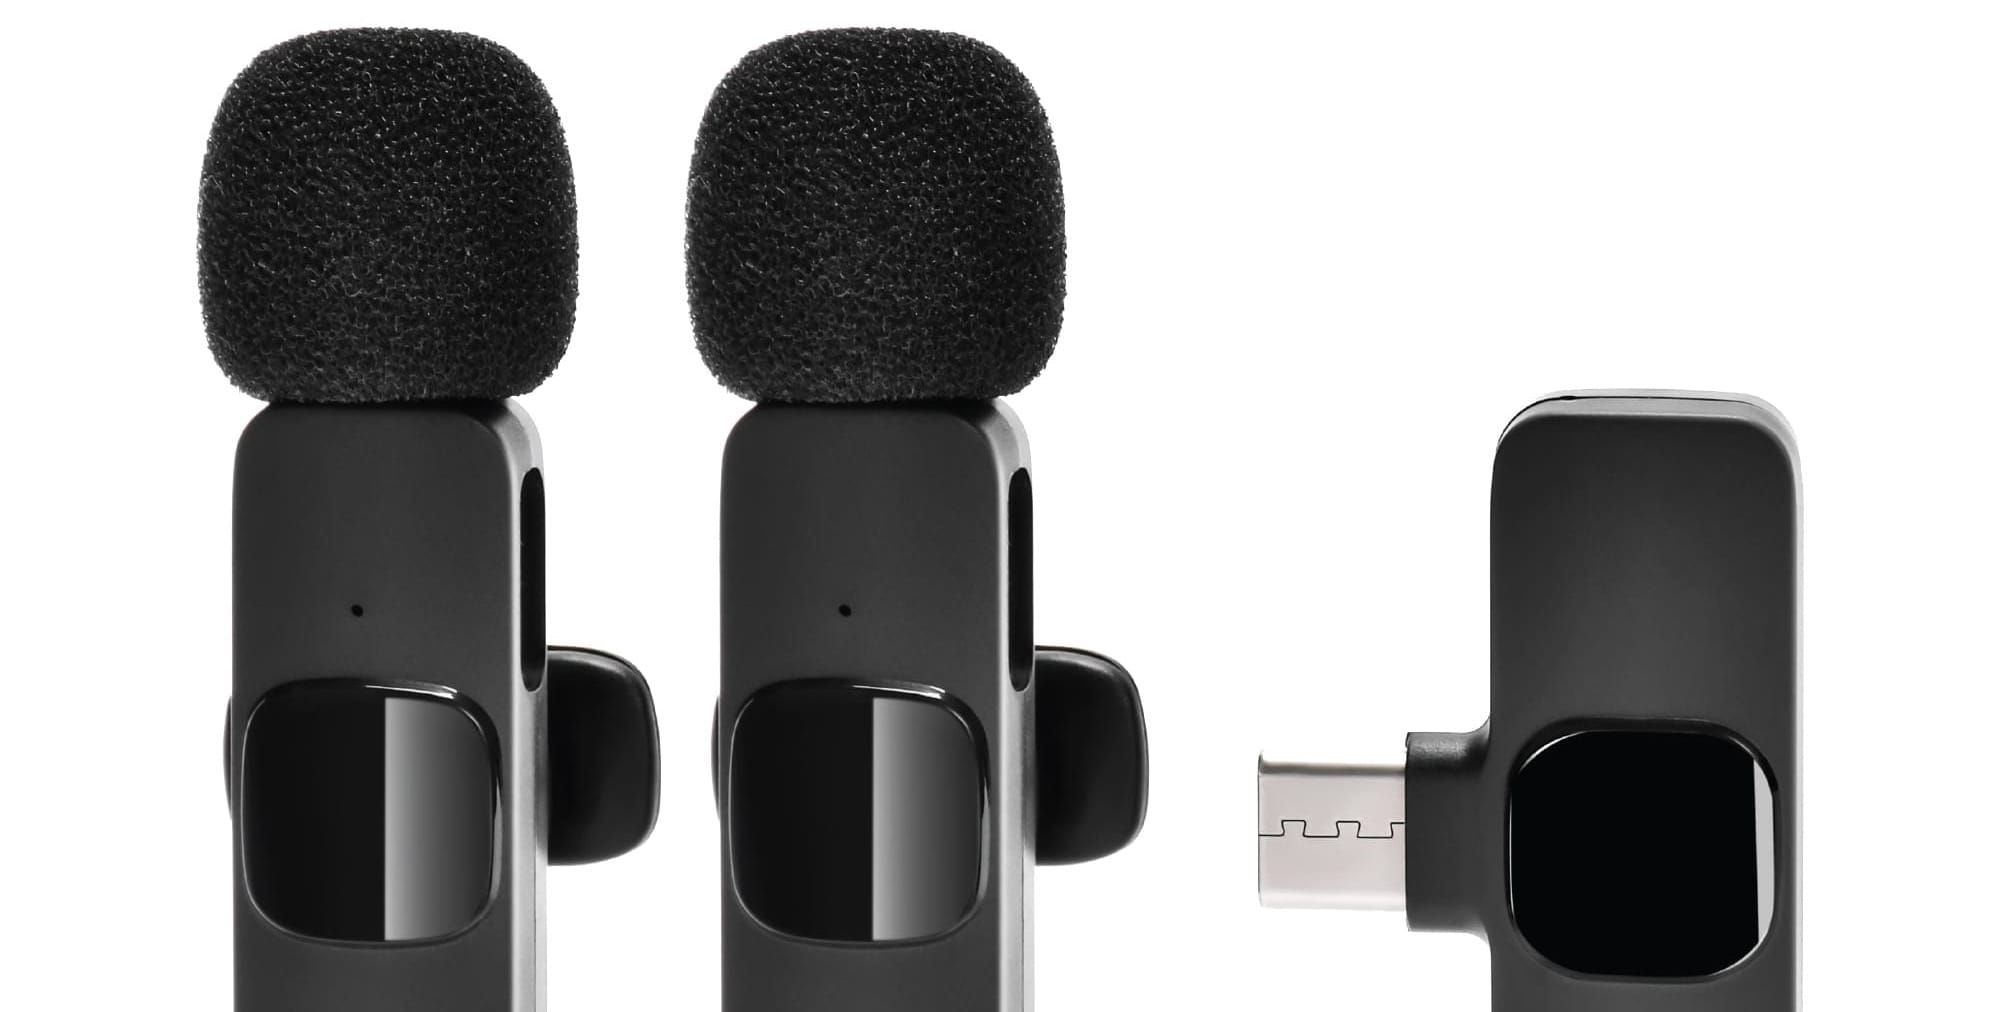
wireless mic
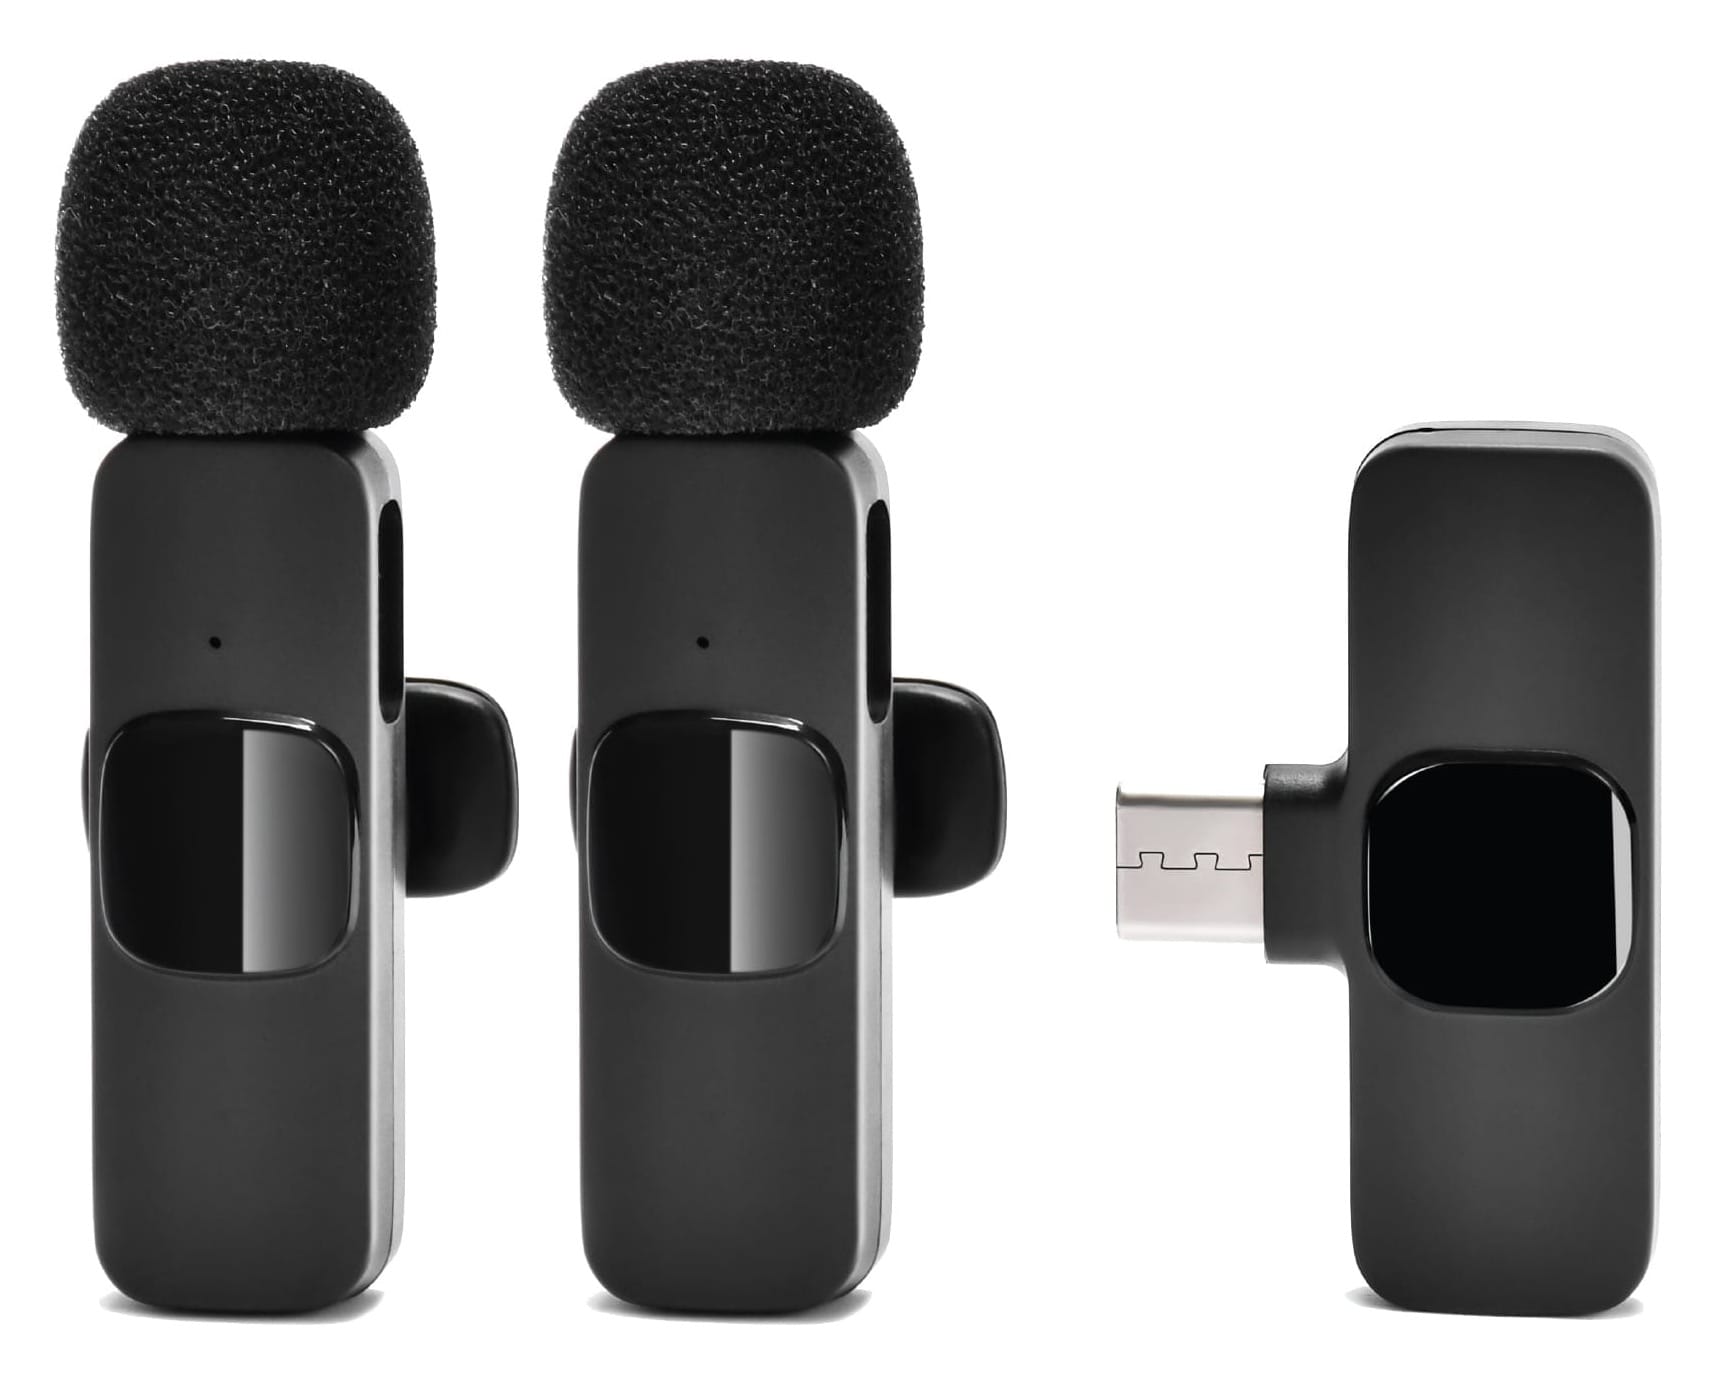
Wireless mics can be very fancy, but they don't have to be. I don't bother with the super fancy mics which start at $60 and can go as high as $400. Instead, I go with a cheap-o $20 lav mic. You won't get broadcast-level quality audio from it, but you'll be able to speak without holding an iPhone to your head, or fiddling with AirPods. Whatever mic you do buy, fancier mics have sturdier clips—my $20 mic has such a cheap clip on it that it dropped into the toilet when I bent over to lift the seat. 🙄 Doh!
N.B. Always check your wireless mic is on before recording. I have recorded entire scenes and had nothing to show for it. Don't make my mistake.
old iphone
You don't need a new expensive iPhone, just a phone with a microphone that still works. If you upgrade your iPhone, repurpose your old one.
iCloud
This method will not work without iCloud, so make sure the phone you're using is signed in to iCloud. This even works if you use multiple phones logged into iCloud over WiFi.
Notes app
When your outlines is complete, paste it into Apples Notes app. It's bare bones, just how we like it—no distractions. The whole outline should be made into boldface. As you go complete dictating each beat, take the boldface off. This helps clearly see what you still have to dictate.
Just Press Record app

Set this $5 app to record with your lavalier mic (which shows as a different sound source than the iPhone mic). For formats, you can pick MP3, WAV, or AIFF. MP3 is compressed and thus loses a little audio quality. WAV is a full spectrum audio, but so is AIFF, which is Apple's version. You won't ever use this file for broadcast, so just go with AIFF since it's an Apple workflow.
You'll want a mono audio file with high enough quality that transcription success is improved, but not such a high quality sound that the files get absurdly large, either.
Here are my settings on Just Press Record:
- Input Device: [SELECT SOURCE—NOT IPHONE MICROPHONE]
- Use Stereo Microphones: OFF (Mono is better)
- Custom Audio Settings (enables the next three settings): ON
- File Type: AIFF (a no-compression format, so will give you good sound
- Sample Rate: Best Available (will give you best sound quality)
- Bit Depth: 16-bit (better quality than 8-bit, but not super high quality, which would create a massive file)
- Transcription Language: English (United States)
- Storage Location: iCloud Drive Files will record to iCloud > Just Press Record > [DATE RECORDED]
- Advanced
- DISPLAY
- Transcript Highlighting: ON
- Unplayed Badges: OFF
- TRANSCRIBE
- Auto Transcribe: ALL RECORDINGS (This transcription is only a backup)
- Automatic Punctuation: ON (This is only one of three grammar checks we're using in this flow).
- DISPLAY
MacWhisper
MacWhisper is a paid app, costing only €65. It's not technically necessary since Just Press Record creates an auto-transcription, but JPR gives you a block of text you have to painstakingly break into paragraphs, and some of its transcriptions aren't that great.
By contrast, MacWhisper has superior transcription. You can select any of a number of local models (meaning, you don't pay for them), and I recommend the Large L3 Local Model. It's a little slower to transcribe but considerably more accurate.
N.B. MacWhisper offers an integration with Open AI to do editing cleanup directly from the app. However, this requires buying OpenAI credits which—while cheap—are an unnecessary expense given how good the free Large L3 Local Model is. I also prefer Anthropic's Claude for editing narrative. It feels like the extra step of buying OpenAI's credits is just a little too complicated to keep the whole process working seamlessly. As great as integrated automations might seem, I sometimes prefer a small amount of manual input if it keeps the whole workflow straightforward. Simple = higher likelihood to be remembered, and thus used.
All you do is manually import each AIFF file and let MacWhisper do its thing. When it's done (and yeah, it might take a minute), you can have it ring an audio notification. Manually export it into a TXT file.
Second grammar pass: COMPLETE.
Claude
Again, this step is purely optional, but will really make a big difference. Go to Claude.ai and sign up for a new account if you don't already have one. (If you go the extra step to connect it to your Google Drive, this will get even easier, as you'll see.)
Paste this prompt into the chat box:
I am going to paste the dictation transcription for a chapter of my novel. Correct all grammar and punctuation errors. Do not rephrase, reword, or replace any words — only fix grammatical mistakes such as incorrect verb tense, subject-verb agreement, and missing or misplaced punctuation. Preserve my exact vocabulary, sentence structure, and voice. If a word is unclear or possibly transcribed incorrectly, leave it as-is rather than substituting an alternative. Follow the rules of fiction paragraph breaks where new people speaking signify paragraph breaks. Make additional paragraphs where it seems appropriate.
Then paste your entire TXT file right after that prompt, and hit return.

You can either download a Word Doc, or download it directly into Google Drive.
You're done! Your dictated session now gone through three separate passes to correct grammar and paragraph breaks. As first drafts go, that's about as painless as it can get.
extra credit
If you hang around after class, you'll always get the good stuff. 🤗
This is a spreadsheet I use to track my dictation progress:

This Google Sheet (saved as a bookmark on my browsers favorites) helps me track two specific metrics: my dictated words per minute, and my dictated words per hour.
If I were to dictate for 25 minutes, I'd want to know how many words if I were dictating for 1 hour. With this spreadsheet, I get a very good idea if I'm getting better or worse.
My only goal is to slowly improve these metrics, no more than 10% of the last session. I think I can get my final dictation speed up to 140 words per hour, or even higher, but it's about "putting in the reps", as Michael Evans keeps telling me.
Wordcounter
I past JPR's auto-transcript into Wordcounter to get a quick word count for my spreadsheet.
Google Drive
An added benefit for keeping this document in Google Drive is that not only is it available no matter where you are, but you can invite a human editor to proof it. Google Drive is exceptionally adept at this since editors can leave comments, and add or delete text, which you can approve or not. Once editors are done, you can port the entire text into Vellum for proper book formatting.